Using Adobe Audition
These instructions explain how to use Adobe Audition to prepare a sound to calculate the sound quality metrics using the MATLAB codes provided.
Changing the Sample Rate Using Adobe Audition
Instructions to use Adobe audition to change the sample rate of a .wav file are as follows:
- Open Adobe audition and the file to be edited.
- Select ‘>Edit’, ‘>Convert sample type’ and ‘>48000 Hz’ (as shown in fig 1).
- Save the file.

Fig 1: Changing the sample rate
Selecting a signal of length n samples Using Adobe Audition
The sample to be analysed can be saved as a separate .wav file using Adobe audition:
- Open Adobe audition and the file to be edited.
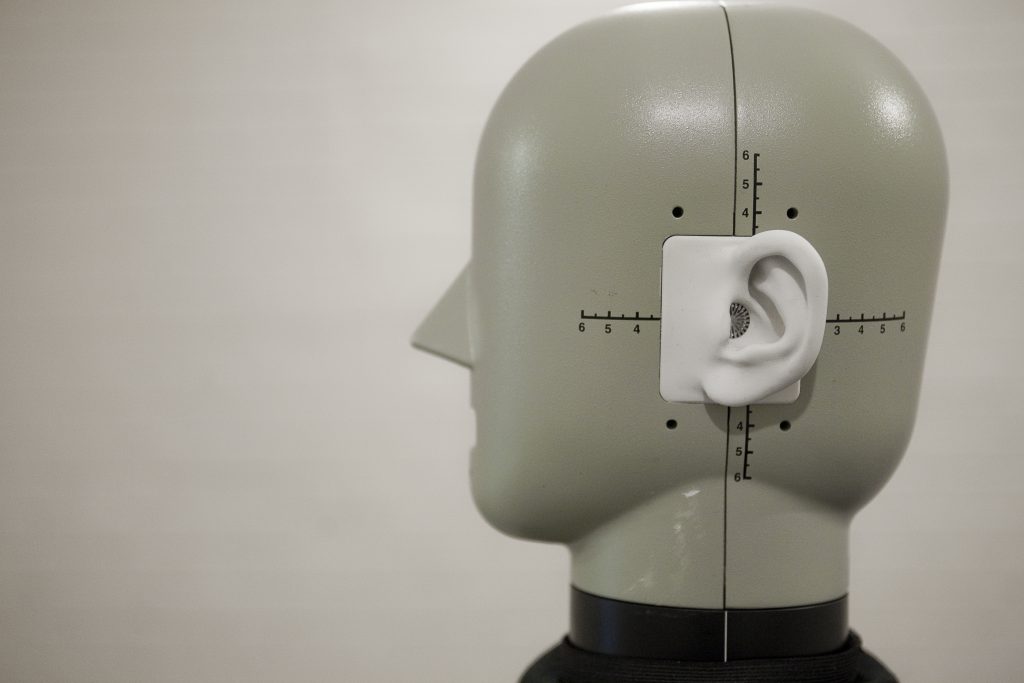
- For monaural sounds only one channel of the sound needs to be selected the left channel can be selected by ensuring the cursor is in the top of the window when making the selection or the right channel can be selected by ensuring the cursor is in the bottom of the window when making the selection (marked with red boxes in the fig 2). For binaural sounds each channel need to be selected and saved to two separate .wav files. A binaural correction needs to be applied (see below) and values of the metrics for each channel should be calculated.
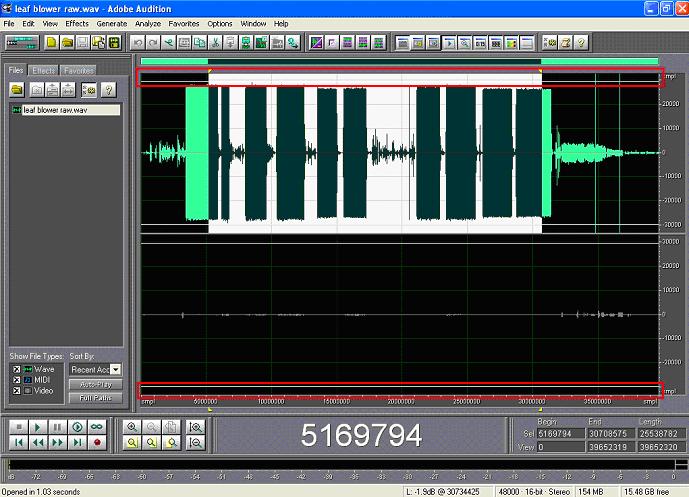
Fig 2: Selecting a single channel for monaural analysis of the sound
- The length of the signal selected should be a multiple of (n x 28) samples to get the best performance from the metric calculators provided. Right clicking on the x-axis and selecting the option ‘>display time format’ and ‘>samples’ will display the time axis in number of samples to check this. The table on the bottom right of the display (marked with a red box in fig 3) shows the start point, end point, and length of the selected portion.
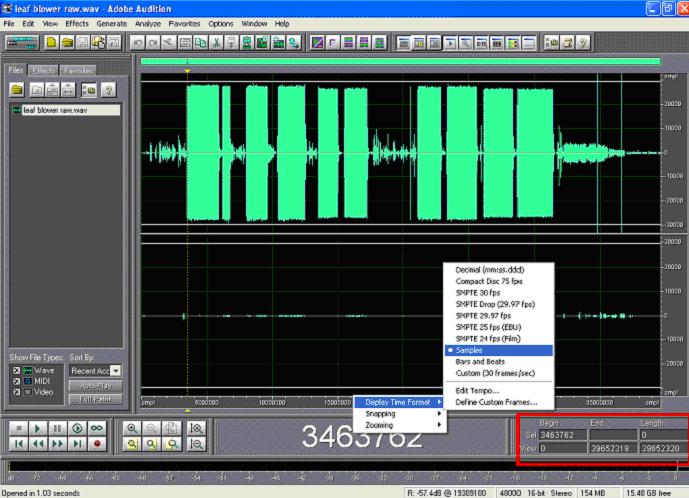
Fig 3: Displaying the time format in samples
- The sample to be analysed should be highlighted and ‘>Edit’, ‘>Copy to New’ selected. The new file created can then be saved under a different name.
Applying the Binaural Correction Using Adobe Audition
- Open Adobe audition and the file to be edited.
- A correction can be applied by selecting ‘>Effects’ ‘>Filters’ and ‘>Graphic Equaliser’ from the drop down menus. The relevant correction (usually either a ‘diffuse’ or ‘free field’ correction) can then be added as 30 third-octave band values (see fig 4).
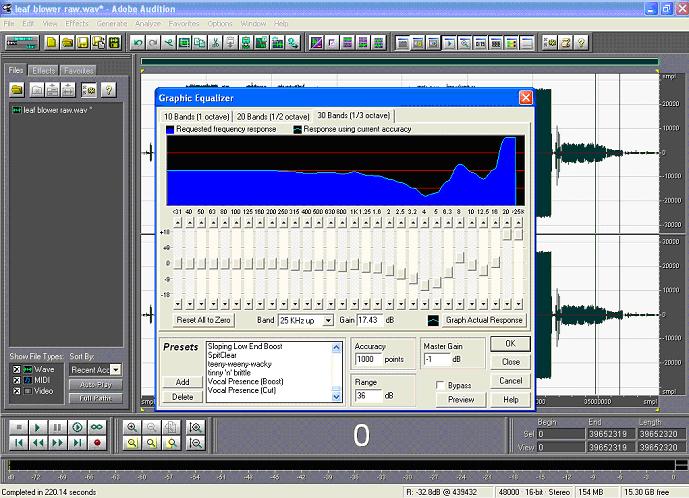
Fig 4: Adding the ‘free field’ HATS correction to the binaural signal
- For binaural sounds each channel need to be selected and saved to two separate .wav files. The left channel can be selected by ensuring the cursor is in the top of the window when making the selection or the right channel can be selected by ensuring the cursor is in the bottom of the window when making the selection (marked with red boxes in the fig 2). Values of the metrics for each channel should be calculated.