Preparing sound files – part 2
When sound is reproduced back to the listener, the sound reproduction system (amplifiers, headphones or loudspeakers) will affect the sound quality produced. Without specialist sound reproduction rooms, it is difficult to carry out sound quality tests using loudspeakers. The room acoustic affects the sound produced, and getting rooms with a sufficiently low background noise is difficult. For this reason, headphone reproduction is recommended. However, the output from a headphone varies with frequency, for instance the level is usually reduced at bass frequencies. Consequently, to make sure the reproduction is faithful, it is necessary to make a headphone correction.
Find out about possible headphone types.
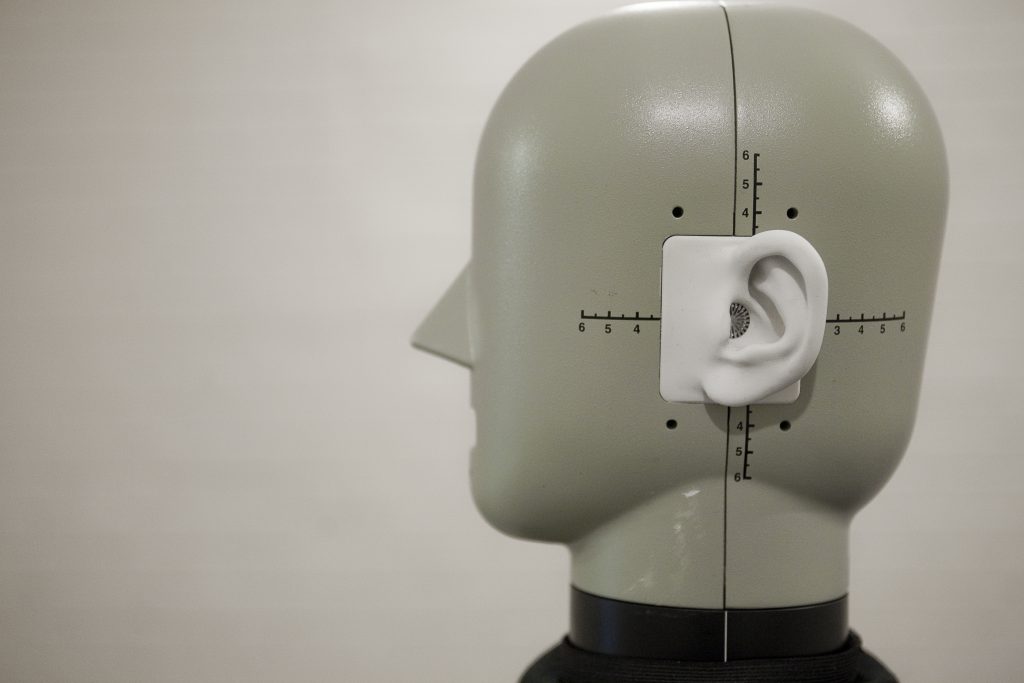
The correction is relatively straightforward to do in music processing software, the problem is having the instrumentation to make the headphone calibration measurements in the first place. It is found that headphones vary greatly, and even headphones which are supposed to be the same model give different responses. If you have a dummy head available, then you can carry out the measurements needed for the correction, otherwise, you will need to get your headphones calibrated (we can do this at Salford University’s calibration lab, or there are other places in the UK).
There are two principle methods depending on the accuracy of the correction undertaken. For most work, it is sufficient to set a graphic equaliser so that the general frequency response is correct. A pair of headphones is placed on the dummy head. Noise is played through headphones and measured on the dummy head’s microphones and recorded onto the DAT or similar. This noise can be generated in sound processing software; you should use white or pink noise if following the instructions below.
Using Adobe Audition, download the signal played through the headphones and recorded on the dummy head. Also download the noise signal sent to the headphones. Select a 1minute length of the signal sent to the headphones for one of the ears. Select “Analyse” “Frequency Analysis” from the top menus. Hold the frequency spectrum window open by clicking on the top right of the window.
Here are two samples to define the correction for the headphones loaded into one wav file. The first signal (to the left) is the noise sent to the headphones and the second signal to the right is the sound recorded through the headphones.
Click on any image for larger picture.
A signal is selected of a fixed length (say 1 minute). The select “Analyze” “Show frequency Analysis” from the top menu
The frequency analysis of the first sound is shown above, and then this is fixed. The second signal (played through headphone) is then highlighted, and the frequency analysis added to the first as shown below.
You then use the graphic equaliser to match the two frequency responses:
Select “Effect” “Filters” Graphic Equalizer”. Choose the 30 Band (1/3 octave) filter. Read the difference in the dB values between the two curves off the frequency analysis curve and use these values to change the slider values.
This is a little tedious, but by a process of trial and error, you can match the two frequency responses, and therefore correct for the headphone response.
Once you have found appropriate settings for both ears, save these for future use under a name (“presets”, “add” in the dialog box). (If you have applied the graphic equaliser repeatedly, the final settings are not the complete correction curve. To avoid this, select undo after each attempt with the graphic equaliser, so your final applied settings are the total correction and so can be saved for future use).
Repeat the process for the right ear. Then apply the filter to all recorded signals and resave the files.